


Keycard locations, loose red loot routes, and the first 90 seconds of every eastern spawn
Hazard Operations guide | Last reviewed for editorial structure: September 2026
If you spawn on the eastern side of AZ-03 Nuclear Plant, your opening route matters more than a full building clear. The best early loot is often exposed on desks, shelves, platforms, or floors, so you can confirm it while moving instead of spending the opening minutes searching low-value containers.
This guide covers five eastern spawn areas, the loose keycard and red-loot checks associated with each one, and the rotation decision that should follow. Loot visibility and exact spawn behavior can change with game updates; use the route logic as a fast in-raid checklist and verify any disputed location in the current build.
Quick answer: the best east-side routes
| Spawn | Keycards | Red loot | Main risk | Default action |
|---|---|---|---|---|
| Coastal Office | None | 1: tank basin | Sea wall trap | Move inland; check the tank floor once. |
| Seawater Treatment | None | 1: tank basin | Basin ambush | Peek through the wall breach before dropping. |
| PWR-1 | 1: main gate desk | None | Open courtyard / bridge angles | Take the card and cross the skybridge. |
| Spinning Star 1 | 2: interior desks | None | PWR-1 choke push | Loot the native desks; do not contest PWR. |
| Wastewater Storage | None | 3: office + ladder | Early southern PvP | Clear quickly, then rotate northwest. |
Core rule: check exposed loot while sprinting, secure valuable items in the Safe Box immediately, and leave peripheral zones before the 2:00–2:15 mark unless you have a clear reason to stay.
What are wild spawns in Delta Force?
“Wild spawn” or loose loot means an item that appears exposed in the environment rather than inside a searchable container. In this route, that includes keycards on desks or shelves and red loot on floors, platforms, and other visible surfaces. The advantage is speed: a bare surface can be confirmed without opening lockers, jackets, crates, or safes.
The five eastern spawn routes
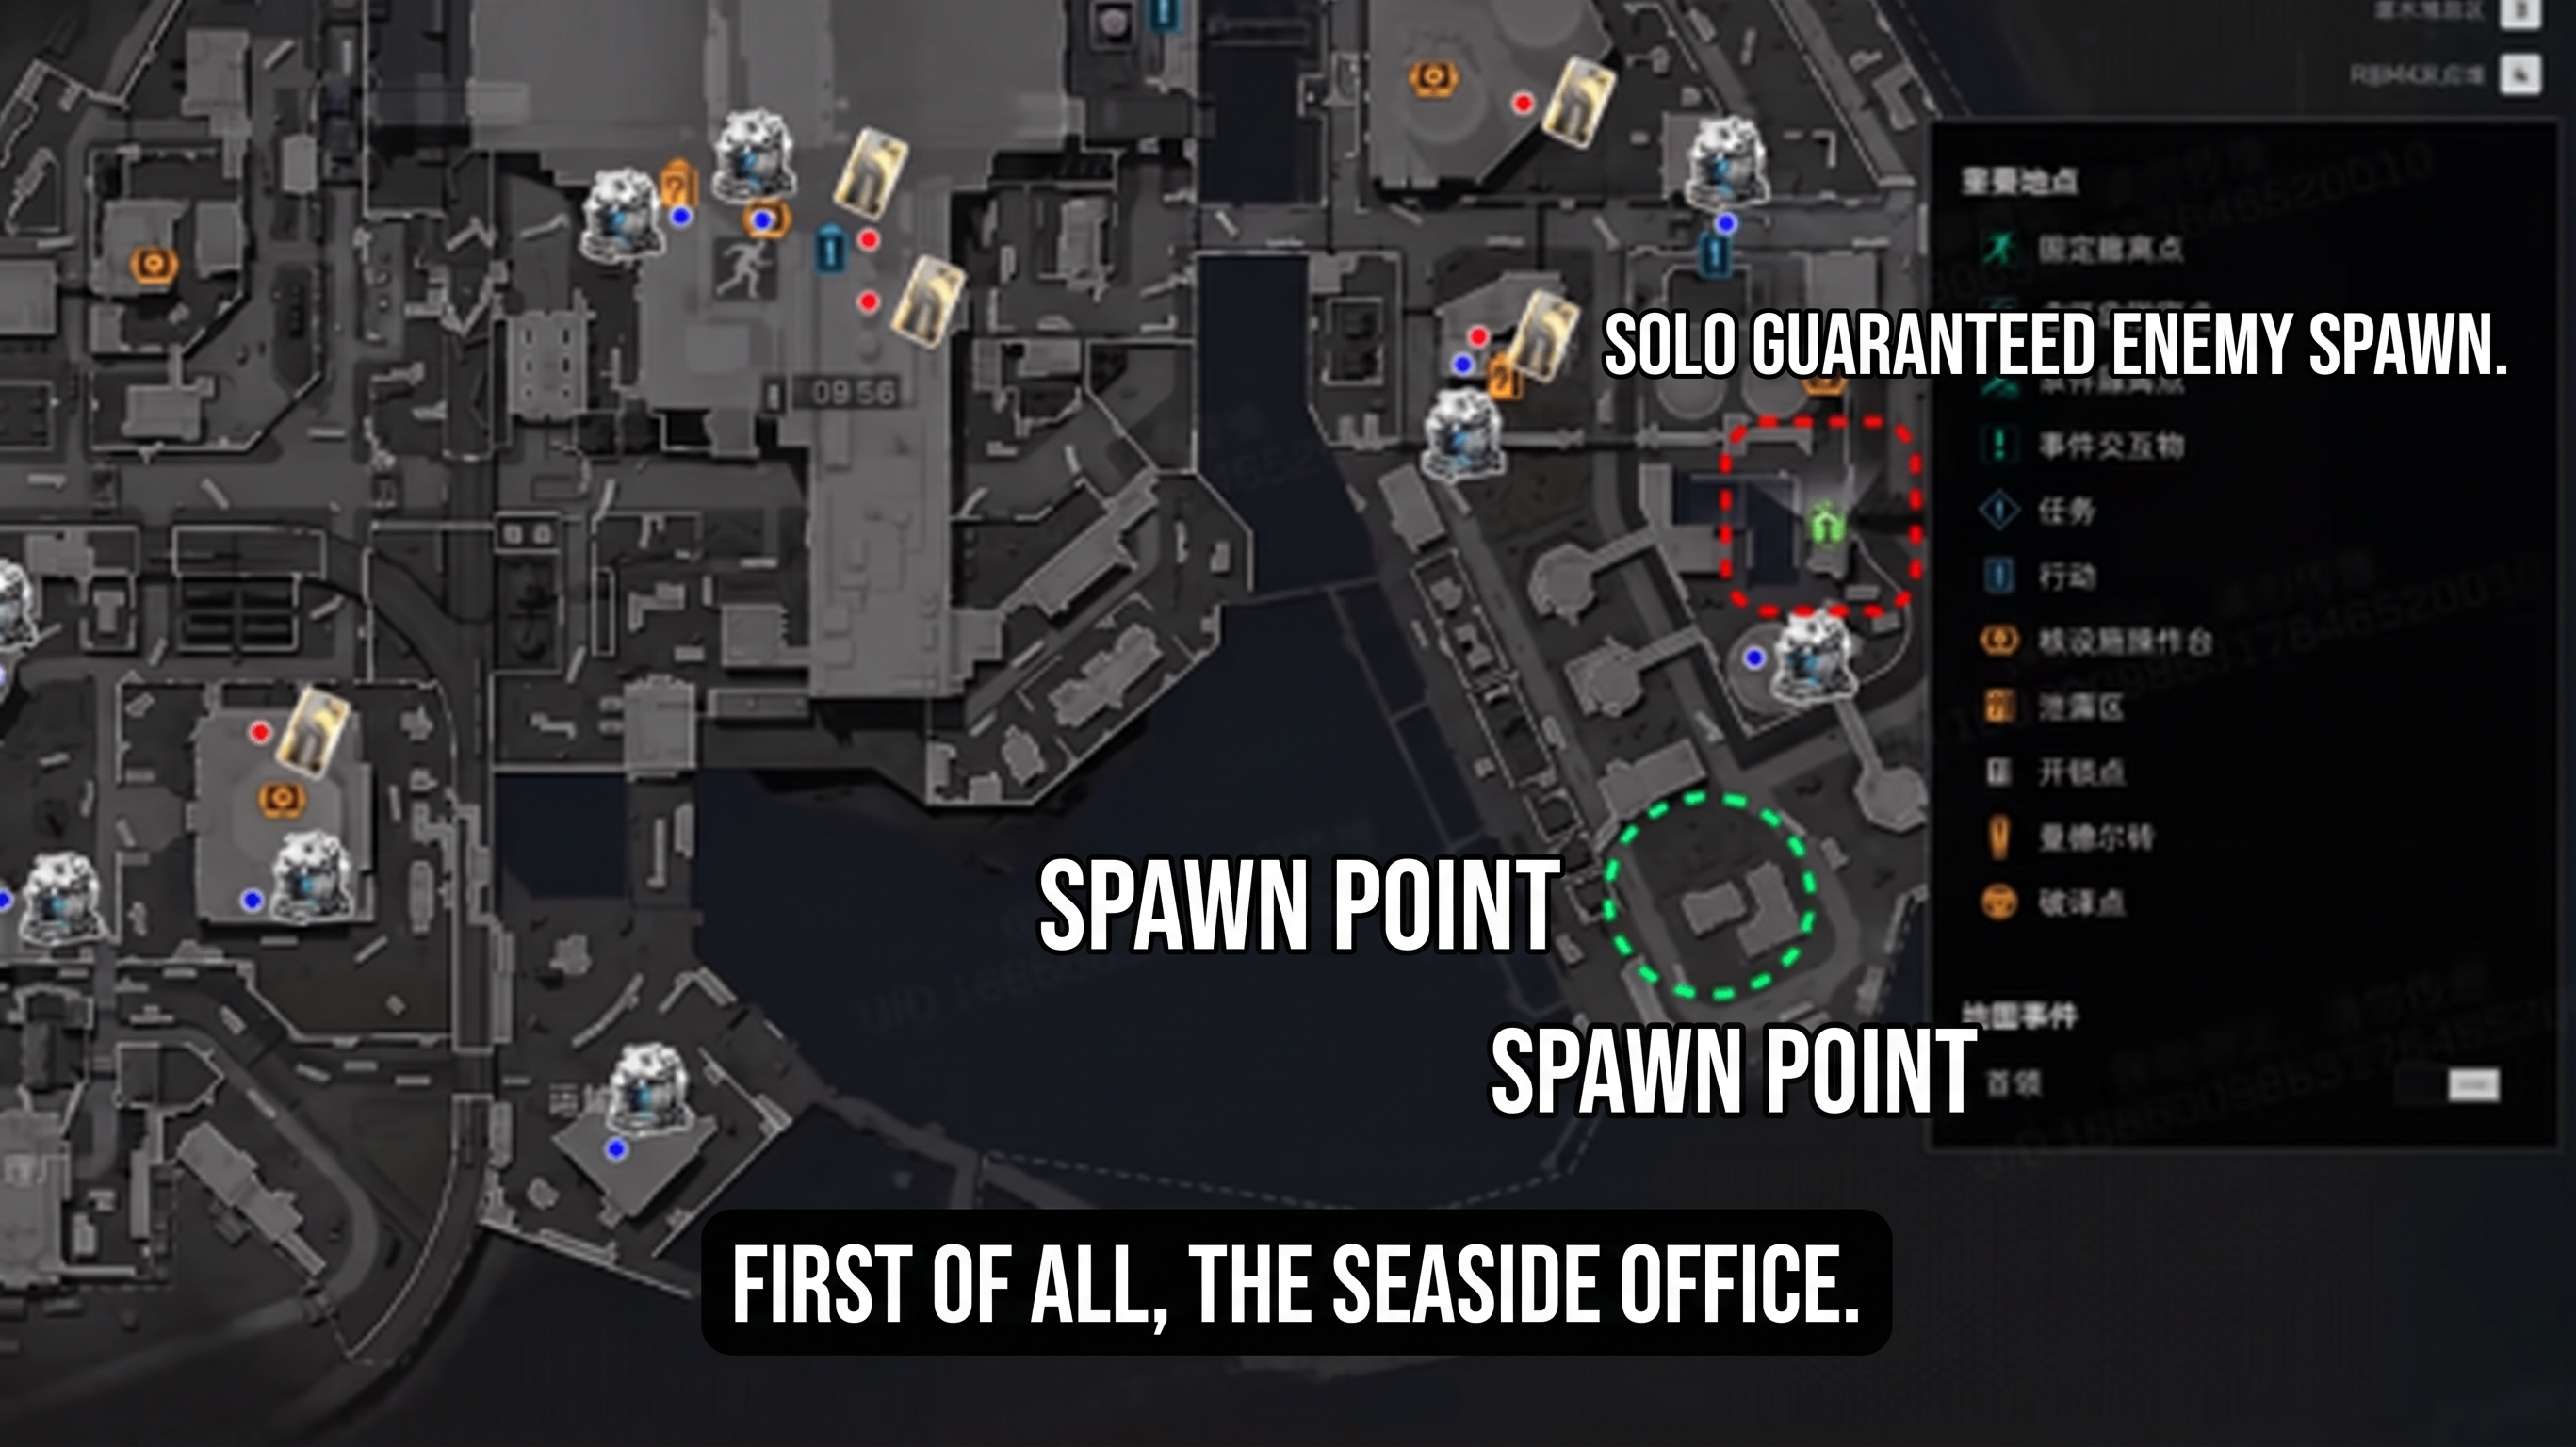
1. Coastal Office
The Coastal Office is on the northeastern seawall. It is a poor place to spend time searching because the sea limits your escape options.
1. Bypass the office building and sprint southwest toward the Seawater Treatment area.
2. Drop into the underground tank basin and inspect the recessed floor between the cylindrical tanks and drainage pipes.
3. If a red item is visible, secure it immediately. If the floor is bare, leave rather than searching nearby containers.
4. Exit the basin within roughly 40–45 seconds and rotate toward the interior wall.

Combat note: the Seawater Treatment squad has the better position for an inland intercept. Staying in the low basin too long can turn a good loot check into a trapped fight.
2. Seawater Treatment Area
This spawn starts closer to the underground tank vault and gives you the safest way to check it without committing to the basin.
5. Run to the concrete wall breach overlooking the tank floor.
6. Use the angle to check the gap between the storage tanks before dropping.
7. If the red item is visible, drop through, secure it, and climb out using the opposite ladder or exit.
8. If the floor is empty, skip the basin and push toward the Core Facility gate.
Do not drop blindly. The wall-breach peek is the route’s main time-saving decision.

3. Pressurized Water Reactor 1 (PWR-1)
PWR-1 controls the eastern approach to the skybridge and Spinning Star. Its keycard check is at the main entrance security checkpoint.
9. Sprint to the primary entrance and electronic gate terminal.
10. Check the metal desk beside the monitor for the loose military access keycard.
11. Move the card into the Safe Box before checking anything else.

12. Cross the enclosed skybridge immediately to avoid extended exposure around the vehicle route and courtyard.
The PWR-1 advantage is tempo, not a reason to camp the desk. Take the card and keep moving.

4. Spinning Star 1
Spinning Star 1 has two reported loose keycard checks inside the facility: a wooden desk in the supervisory room and a metal shelf near a partition wall.
13. Run through the internal operations offices.
14. Check the primary supervisory desk.
15. Check the secondary metal shelf against the partition.
16. After the sweep, hold the facility or rotate toward Core Central based on sound cues and squad information.
Do not leave Spinning Star to contest the PWR-1 desk. A PWR-1 squad reaches that location earlier and can hold the corridor with pre-aimed angles. Your reliable value is the two native checks inside Spinning Star.

5. Wastewater Storage Area
Wastewater Storage is the highest-density red-loot route in this east-side set, with three reported exposed checks.
17. Enter the ground-floor wastewater management office and check the main desk.
18. Check the exposed lower shelf of the metal documentation cabinet.
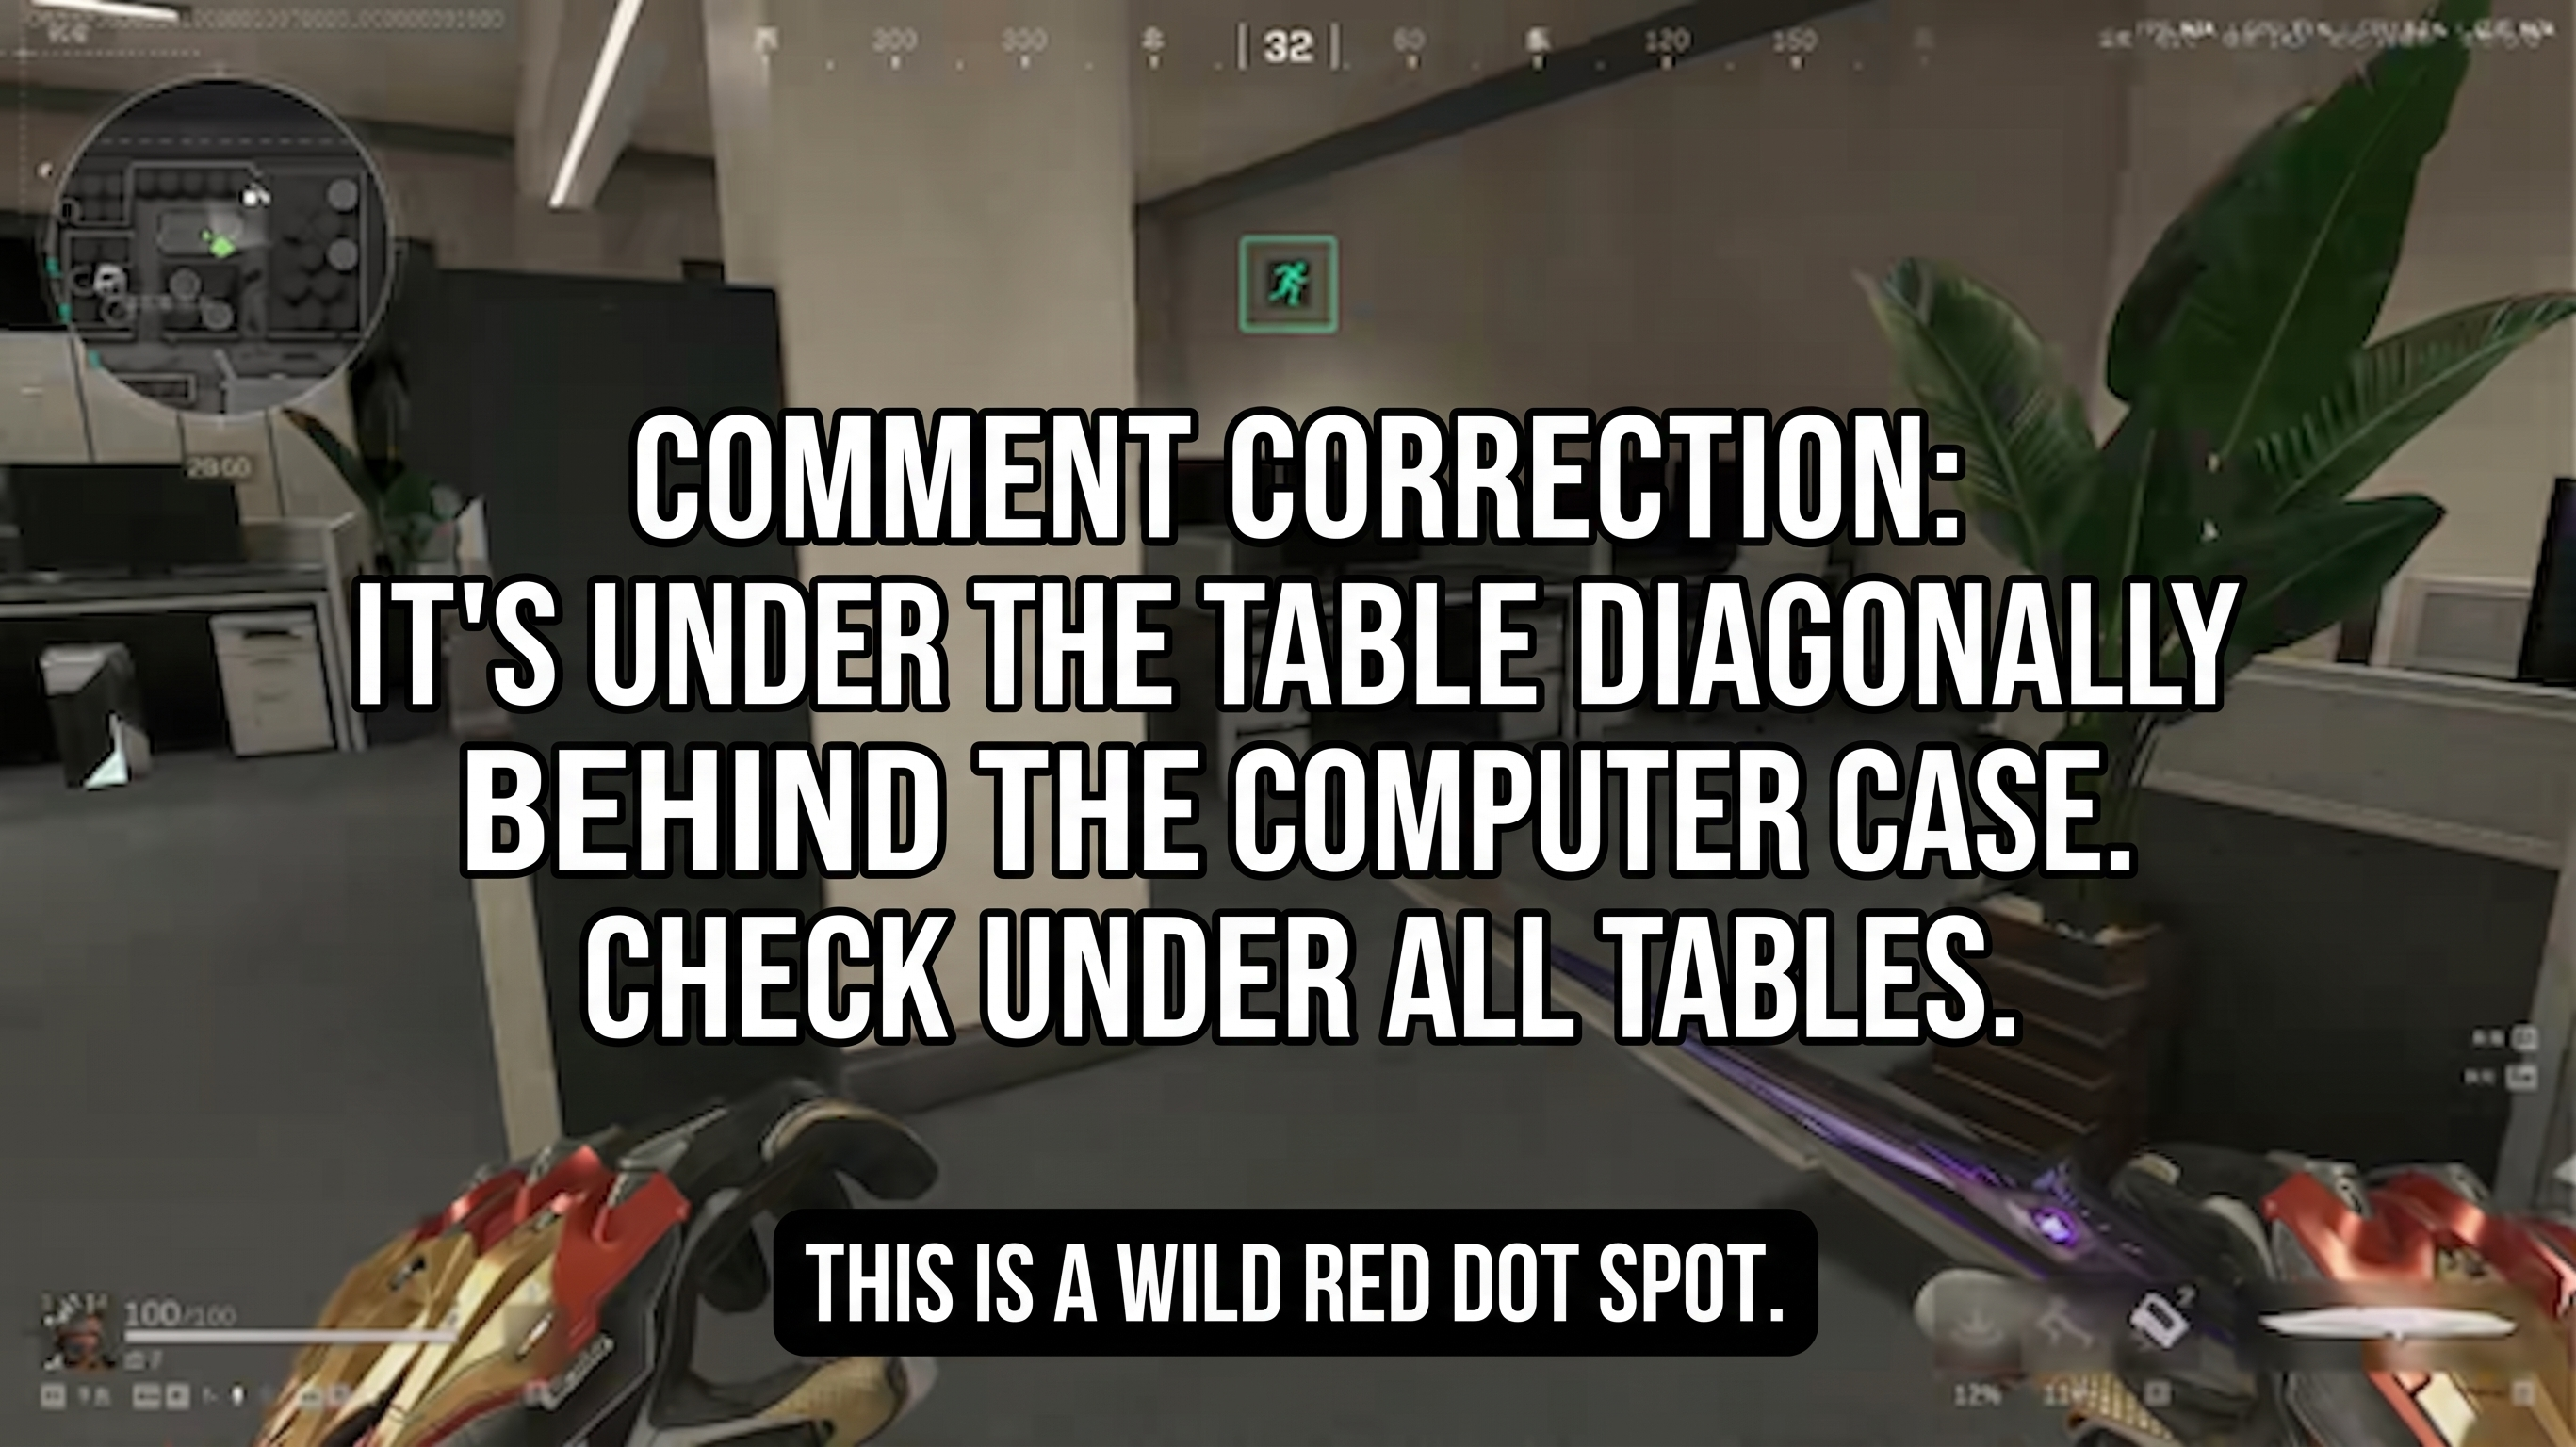
19. Exit toward the containment tanks and locate the prominent yellow maintenance ladder.
20. Inspect the metal staging platform at the base and the nearby elevated catwalk ledge.
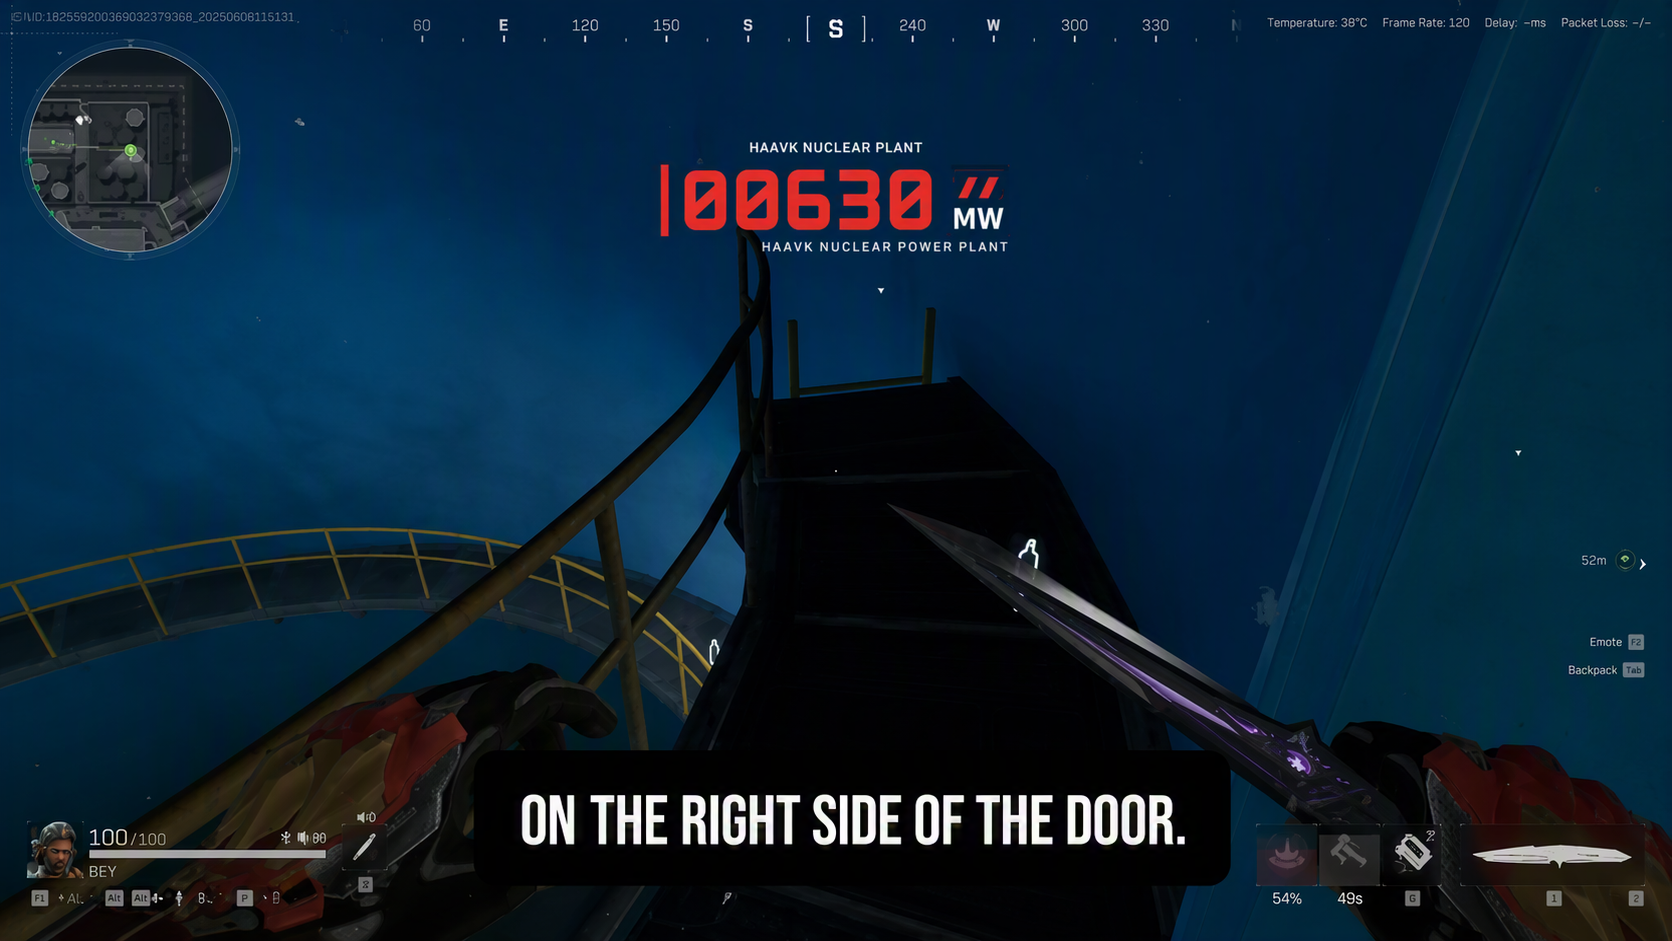
21. Finish the sweep by about 1:30 and rotate northwest toward the Core Facility south gate.
Three loot checks also mean more attention. Expect an early close-range fight in or around the office if southern squads rotate directly into the area.
Opening-minute rules that apply to every spawn
1. Keep your crosshair at loot height while sprinting
Use a shallow 45-degree scan across desks, shelves, platforms, and floors. Do not stop for ordinary crates or clothing during the opening rotation. If a surface is empty, keep your momentum.
2. Secure valuable items immediately
Bind the Safe Box to an easy key. The moment a keycard or compact red item is confirmed, secure it before checking adjacent surfaces. This protects the value if the opening fight goes badly.
3. Leave the perimeter before the map closes around you
Use 2:00–2:15 as the default evacuation point for peripheral spawn zones. By around 2:30, nearby squads are more likely to have completed their first sweep and established angles around the obvious approaches. Use bridges, breaches, and secondary entries when possible.
Frequently asked questions
Where are the best loose keycard spawns on the east side of Nuclear Plant?
The strongest reported concentration is inside Spinning Star 1, with two interior desk or shelf checks. PWR-1 has one additional check at the main entrance security desk.
Which eastern spawn has the most red-loot checks?
Wastewater Storage has the highest reported concentration in this guide: two office checks and one check around the exterior yellow ladder.
Should Spinning Star players contest the PWR-1 keycard?
No, not by default. PWR-1 starts closer and can reach the desk first. Sweep Spinning Star’s two interior checks and use the facility’s defensive position instead.
What should I do if the tank-basin red loot is not visible?
Skip the basin. A fast visual check is the point of the route; dropping into an empty low area costs time and creates an avoidable ambush risk.
Are these spawn points guaranteed every raid?
No. Treat them as reported checks, not guaranteed drops. Loot tables, map layouts, and spawn behavior may change, so confirm the current location in-game after updates.
Use this guide with Delta Force Tools
Before deploying, use the Delta Force Tools 3D interactive map to review the eastern buildings, bridges, breaches, and rotation options. Pair route planning with your preferred weapon build and current map information rather than treating any single loot check as guaranteed profit.
Related resources:
· Delta Force Tools 3D Interactive Map
· Delta Force Door Codes guide
Final checklist
· Identify your spawn and the nearest exposed-loot check.
· Scan while sprinting; do not open low-value containers during the first rotation.
· Secure every keycard or red item in the Safe Box immediately.
· Use the wall-breach peek for Seawater Treatment rather than dropping blindly.
· Do not contest the PWR-1 desk from Spinning Star unless your squad has a clear information advantage.
· Leave the peripheral zone by roughly 2:00–2:15 and rotate through protected routes.
· Recheck the route after map, season, or loot-table updates.
Editorial implementation notes
Recommended page type: evergreen tactical guide. Keep the answer-first table near the top, retain the FAQ headings for search and AI retrieval, and update the “last reviewed” date whenever the route is tested against a new game build. Avoid presenting exact timings or loot counts as permanent guarantees unless they have been revalidated in the live game.